
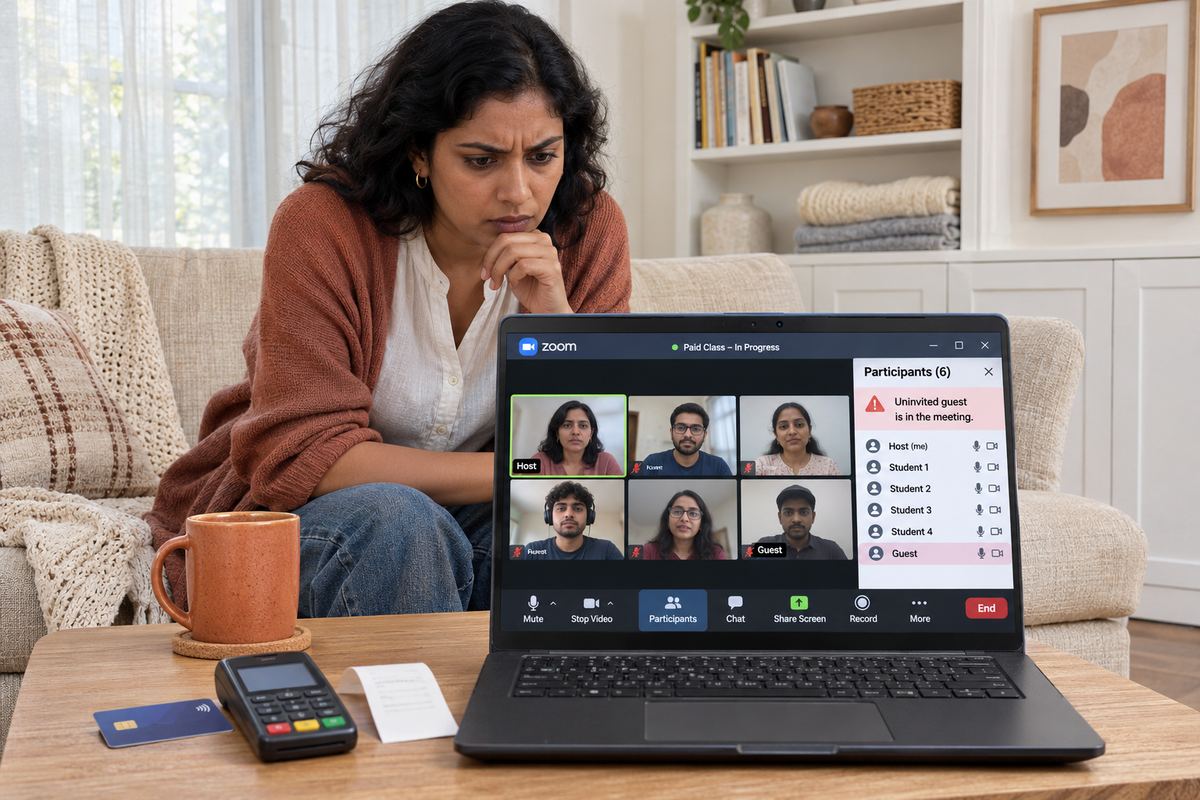
You count the faces on screen, then the payments, and the numbers don't match. Or someone with a made-up name is sitting in your class and nobody invited them. Either way, the link you sent to paying students has reached people who didn't pay.
The quick answer: a Zoom link works for whoever holds it, and Zoom can build the passcode into the link itself, so a forwarded link often brings the passcode along. What actually helps is a check at the door: the waiting room, where you admit people one by one against your bookings; a fresh meeting for each class instead of your Personal Meeting ID; and, on a paid Zoom plan, registration with manual approval, so each student you approve gets their own join link.
On a free OneSol class page the Zoom or Meet link stays off the public page and is emailed only to students whose spot is confirmed, after they've paid.Make your class page →Why a paid class link ends up with people who didn't pay
It nearly always happens in one of these ways.
- It was forwarded. A student sends the link to a friend, a partner or a colleague. If your account has 'Embed passcode in invite link for one-click join' switched on, Zoom says the meeting passcode 'will be encrypted and included in your invite link', so the friend joins with one click and never sees a passcode prompt.
- It was posted somewhere: a group chat, a public page, a social post. Anyone who saw it has it.
- It was reused. This is the big one for weekly classes. Zoom describes your Personal Meeting ID as a virtual meeting room permanently reserved for you, always reachable with the same meeting ID and personal link, and says that once someone has it they can join at any time the meeting is in use, unless you lock the meeting or use the waiting room. Zoom's own guidance is that it should not be used for back-to-back meetings or with people you do not meet with regularly. Every trial student and former member who ever got that link still has this week's class.
- A recurring meeting behaves much the same way. Zoom's meeting ID FAQ says a recurring meeting's ID only expires once no occurrence has been started for 365 days, so the link from week one still opens week ten.
Quick fixes for your next class
These take a few minutes in the Zoom web portal. Zoom's help only asks for a paid account to customise the waiting room or choose who goes into it; switching it on is a setting on your own account.
- Turn the waiting room on. Click your profile picture, then 'Settings', then 'Meeting'. Under 'Security', switch on 'Waiting Room' and click 'Enable' if Zoom asks you to confirm. Nobody walks straight in any more: in the 'Participants' panel you click 'Admit' next to each name you recognise from your bookings, or 'Admit all' once you have checked everyone.
- Make names easier to check. On the same 'Meeting' page, under 'In Meeting (Basic)', turn on 'Allow host or co-host to rename participants in the waiting room', so you can label a vague name like 'iPhone' once you know who it is; renaming someone does not admit them. To message everyone waiting, pick 'Waiting room participants' from the 'To:' dropdown in 'Chat', for example to ask anyone whose name doesn't match their booking to email you.
- Stop using your Personal Meeting ID for paid classes. Schedule a new meeting for each class date: go to 'Meetings', click 'Schedule a Meeting', and under 'Meeting ID' choose 'Generate Automatically' rather than 'Use Personal Meeting ID'. Send that link only to the people who paid for that date, so last week's link opens last week's meeting, not this one.
- Keep a passcode, and know what it does. Tick 'Passcode' when you schedule. It keeps out people who only have the meeting ID, not a forwarded invite with the passcode built in. Switching off 'Embed passcode in invite link for one-click join' (under 'Settings', 'Meeting', 'Security') makes attendees type it, but whoever forwards the link can forward the passcode too.
- If your personal room link is already out there, change its passcode: open the 'Personal Room' tab, click 'Edit' and change the passcode. Zoom says invite links with the passcode embedded keep working as long as that meeting's passcode is unchanged, so after the change the old copies no longer carry the right one.
'Only authenticated users can join': useful, but it doesn't check payment
This setting needs a Pro, Business, Education or Enterprise account. It requires participants to sign in to a Zoom account before they can join, and Zoom says guests without a Zoom account can't join while it is on. You apply it to a class with 'Require authentication to join' when you schedule, and it can be narrowed to email addresses on specified domains.
For a class, it proves someone has a Zoom account, not that they paid you. A friend with a forwarded link and their own Zoom account still gets through, every paying student without an account now has to make one first, and domain limits don't help when students use personal email addresses. Treat it as a way to stop anonymous drop-ins, not as a ticket check.
The stronger setup: a separate join link for each paying student
Zoom's meeting registration is the closest thing it has to a ticket. Zoom requires a Pro, Business, Education or Enterprise account, a host with a Zoom Workplace license, and a meeting ID that is generated automatically rather than your Personal Meeting ID. Students fill in a short form, and Zoom emails each approved registrant a confirmation with their unique join link. Unless you change it, the join link appears only in that email, not on the confirmation page. To set it up:
- In the web portal, go to 'Meetings' and click 'Schedule a Meeting', or open an existing meeting and edit it.
- In the 'Registration' section, tick 'Required'.
- Under 'Meeting ID', choose 'Generate Automatically', then click 'Save'.
- In the registration options, choose 'Manually Approve'. Zoom's wording: 'The organizer must approve registrants before they receive information on how to join the meeting.' This is the step that matters for a paid class, because the registration page itself can be shared: approve only names that match a payment, and deny the rest.
- Tick 'Restrict number of registrants' and set it to your number of places. Leave 'Show social share buttons on registration page' off, and 'Allow registrants to join from multiple devices' off unless a student needs it.
- For a recurring weekly meeting, if students pay class by class, choose 'Attendees need to register for each occurrence to attend' rather than 'Attendees register once and can attend any of the occurrences'.
- If a student can't find their email, use 'Resend Confirmation Email' rather than pasting a link into a group chat. And keep the waiting room on as well: a unique link is still a link a student can pass on.
Someone uninvited is already in the class: what to do now
Open the security controls: 'Host tools' in the meeting toolbar on the desktop app ('Security' on versions below 6.0.0), 'More' and then 'Security' on a phone, or 'Security' in the web app. Then, depending on what's happening:
- Not sure who someone is? In 'Participants', click 'More' next to their name and choose 'Put in Waiting Room'. That moves them out while you check your list.
- Definitely not a student? Choose 'Remove' from the same menu, or 'Remove Participant' in the security menu. Zoom says a removed participant can't rejoin the session using the same email address unless 'Allow removed participants to rejoin' is turned on in your meeting settings under 'In Meeting (Basic)'. Check it before class, because Zoom says changing it doesn't apply to a meeting that's already live.
- Everyone who booked has arrived? Click 'Lock Meeting'. It stops new participants joining, so a paying latecomer can't get in until you turn it off again.
- Someone is sharing their screen or shouting? 'Suspend Participant Activities' turns off everyone's video, audio and screen sharing and locks the meeting. Remove the person, then turn things back on.
- Under 'Allow participants to', untick 'Share Screen' and 'Rename Themselves', so nobody can take over the screen or rename themselves to match a student you've admitted.
- 'Report participant' is under 'Participants', not the security menu, and sends a report to Zoom's Trust and Safety team.
What to set up before your next class
None of this stops a determined student passing their link on, but it means a stranger has to get past you, by name, before they reach your class.
- A new meeting for each class date, scheduled with 'Generate Automatically', never your Personal Meeting ID.
- 'Waiting Room' on, with your list of paid bookings open beside Zoom so you admit names against it.
- 'Passcode' ticked, and the link sent by email only to people who have paid, not posted publicly or dropped in a group chat.
- 'Allow removed participants to rejoin' left off.
- On a Pro or higher account: registration with 'Manually Approve', and 'Restrict number of registrants' set to your number of places.
- Know where 'Lock Meeting' and 'Remove Participant' are before you need them.
If you take the bookings yourself
A OneSol class page set as online keeps the Zoom or Meet link off the public page and emails it only to students whose spot is confirmed, after they've paid into your own Stripe or PayPal, and that works on the free plan. It can't stop a paying student forwarding their confirmation email, so keep Zoom's waiting room and passcode on as well and use them together. Each class date is its own event for now, with no repeating weekly schedule or class packs yet.