
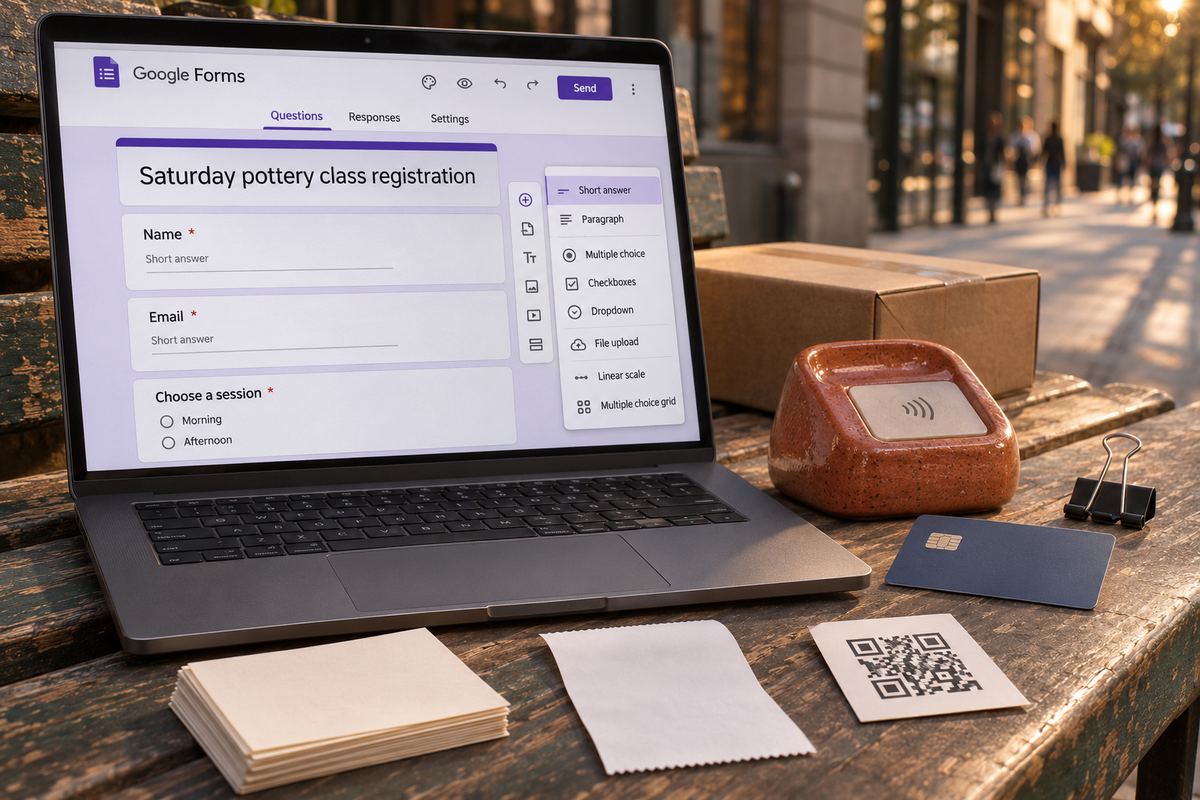
You're building a registration form for a class, a workshop, a holiday camp or a one-off event. Name, email, emergency contact, maybe a T-shirt size. Then you go to add the part where they pay, open the question type menu, and there's nothing there.
The short answer: Google Forms can't take a payment. Its questions collect answers, and none of them collects money. Every Google-only approach works the same way. The form takes the registration, the money is paid somewhere else, and you match the two up yourself. That is workable for a small class, as long as people know what to pay, by when, and how to tell you they've done it.
A OneSol form can ask your questions and take the payment in the same step, into your own Stripe or PayPal account. People don't need to sign in, and it's free to start.Make a paid form →No payment question: what Google Forms gives you instead
Google's help page on question types lists 'Short answer', 'Paragraph', 'Multiple choice', 'Checkboxes', 'Dropdown', 'File upload', 'Linear scale', 'Rating', 'Multiple choice grid', 'Checkbox grid', 'Date' and 'Time'. None of them takes a card or connects to a payment account, so it isn't that you've overlooked one.
What Forms does support is add-ons. In the form editor, click 'More' at the top right and then 'Add-ons' to browse the Google Workspace Marketplace, which has add-ons that bolt payments onto a form. Read each listing for who makes it, what it costs and where the money goes before you install one. Google's help notes that most add-ons ask for access to the data they need to work.
Without an add-on you have four workarounds, and most organisers end up using a mix of them.
Workaround 1: the price and payment link in the description
The description under the form title is the first thing people read, and it is one of the places you can add a link. Google's formatting help says you can format text in titles, questions and descriptions, though not in answer options.
The weakness is that it relies on people reading before they type. Plenty will fill in the questions, press 'Submit' and leave the payment for later. To add the link:
- Open the form and click the description under the title.
- Write the price, what it covers and the date payment is due, in the first two lines rather than at the bottom.
- Highlight the words you want to link, such as 'Pay for your place here', and click the 'Insert link' button.
- Under 'Link to', paste the address of your payment page and click 'OK'.
- Before you share the form, open it as a responder would and click the link yourself to check it goes to the right page.
Workaround 2: the payment link in the confirmation message
The confirmation message is what people see the moment they press 'Submit', which makes it the best spot for a 'now pay here' instruction. To set it, open the form, click 'Settings' at the top, click the down arrow next to 'Presentation', click 'Edit' next to 'Confirmation message', type your message and click 'Save'.
Two things to know. Google's help page for this setting says nothing about formatting or links in the message, so paste the full web address of your payment page and send a test response to see how it shows up. And the message appears once. If someone closes the tab, it's gone.
To give people something to come back to, turn on response receipts. In 'Settings', under 'Responses', set 'Collect email addresses' to 'Verified' or 'Responder input', then next to 'Send responders a copy of their response' choose 'When requested' or 'Always'. 'Verified' records the email of the Google Account they're signed in with, while 'Responder input' lets them type any address, typos included. Google describes the receipt as a copy of their answers, so don't count on it carrying your payment link, and its help warns that spam filters can stop receipts arriving.
Workaround 3: ask for a payment reference
A payment link tells people where to pay. A reference tells you who paid. Choose one format that people type into the note on their payment, such as their surname and the class date, and ask for the same thing in the form. Because the reference is something they make up rather than something the payment system hands them, they can fill it in before they've paid.
Add a 'Short answer' question such as 'Payment reference (the note you will add to your payment)' and turn 'Required' on. Then use response validation to stop answers that don't fit the format:
- With the question selected, click 'More' and choose 'Response validation'.
- Pick a rule type. 'Length' sets a minimum or maximum character count. 'Regular expression' with 'Matches' checks the answer against a pattern you write.
- In the 'Custom error text' field, give an example, such as 'Use your surname and the class date, like SMITH-14MAR'.
- Show the same example in the form description and next to your payment link, so the note on the payment and the answer in the form match.
Workaround 4: a File upload question for the receipt
Asking people to upload a screenshot of their payment sounds tidy. Google's own rules for the 'File upload' question make it less so:
- To answer a 'File upload' question, responders need to sign in to a Google Account. Anyone without one, or who doesn't want to sign in, is stuck at that question, and if it's required, at the whole form.
- You can't use this question type at all if the form is stored in a shared drive, or if your administrator has turned on Data Loss Prevention.
- You choose which file types are allowed, the maximum number of files and the maximum file size.
- Uploaded files go into a new folder in your Google Drive. Google notes that deleting responses from Forms does not delete attached files, so clear that folder out yourself after the class.
- A screenshot only shows that someone says they paid. You still have to check the money actually arrived, so for most classes the reference question does the same job without the sign-in.
Matching payments to registrations in the linked Sheet
Whichever workarounds you use, the checking happens in a spreadsheet. If a co-organiser helps run the form, Google notes that people you share the form with may also have access to its linked spreadsheet, so keep that in mind if you collect health or contact details.
- In the form, open the 'Responses' tab and click 'Link to Sheets'. Choose 'Create a new spreadsheet', or 'Select existing spreadsheet' to add to one you already use.
- Add a 'Paid' column at the end and fill it in as payments arrive, matching each payment's note to the reference in the sheet.
- Get told about new sign-ups: in 'Responses', click 'More' and choose 'Get email notifications for new responses'.
- Keep a count of paid rows. Nothing in these steps counts places for you, so when the paid count reaches your limit, click 'Published' at the top right of the form, turn off 'Accepting responses' and click 'Save'. You can edit the message people see when the form is closed, for example 'This class is full. Thanks!'.
The catch with 'register now, pay later', and a checklist for your next class
Every workaround above runs in the same order: register first, pay second. That is where it leaks. Some people submit the form meaning to pay later and forget. Some change their minds and don't tell you. Until you notice, they're on your list holding a place someone else might have paid for, and you find out who didn't pay while taking the register, or afterwards, chasing small amounts from people you have already taught.
You can't close that gap completely inside Google Forms, but you can make it a lot smaller:
- Put the price, what it includes and the payment link at the top of the description.
- Set a payment deadline with a real date and say what happens after it, for example 'Your place is confirmed when payment arrives. Unpaid registrations are released on 10 March.'
- Fix one reference format and show the same example in the description, the question and next to the payment link.
- Repeat the payment link in the confirmation message, so it's on screen at the moment they submit.
- Treat only rows marked in your 'Paid' column as confirmed places.
- Before the deadline, send one reminder to anyone not yet marked paid, then release their places when it passes.
- Tell people when they're confirmed. A short email once you've marked them paid saves a lot of 'did you get my payment?' messages.
- Turn off 'Accepting responses' as soon as paid places reach your limit.
If you want the form and the payment in one step
A OneSol form can ask the same questions, take file uploads and take the payment as people submit, into your own Stripe or PayPal account, without anyone signing in to anything, and every response lands in your dashboard and inbox and downloads as a CSV, free plan included. A form has no seat limit, so for a class with a fixed number of places a OneSol event page fits better: each ticket has its own price and seat limit, booking closes when it's full and people pay when they book, though it only asks for name, email and number of guests. Neither one sells class packs or sends an automatic reminder before class.